Overview
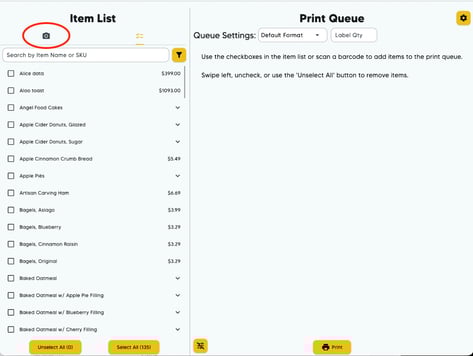
There are three primary ways of selecting items from the SwiftLabel Item List to add to your print queue. You can manually scroll to find it, you can search the item name or SKU in the search bar, or you can scan a barcode of the item or its shelf label.
Scrolling
You can manually scroll through your entire item catalog to find the item that you'd like to print, but there are two ways to make this much faster, especially when you want to add items in an entire category to your queue or select any new items to your Square Item Library.
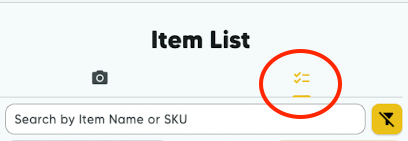
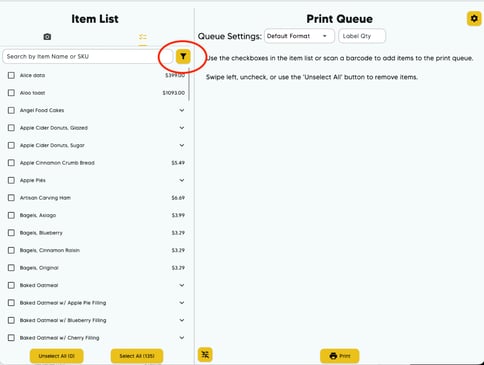
- Select the Filter button next to the Search Bar and it will drop down the two options.
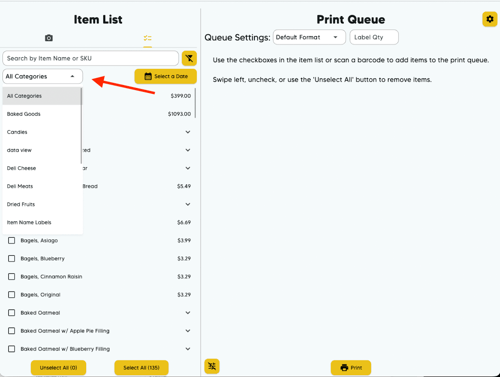
- The first option is filtering by Category. Tap the dropdown that says All Categories and you will be presented with a list of all available categories from your Square Item Library. Here you can pick a specific category and the item list will only display that category.
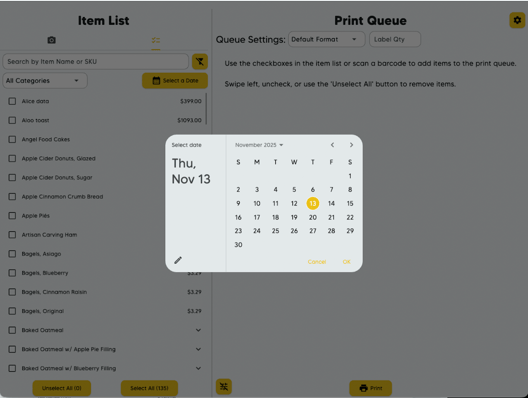
- The second option is filtering by Date Added. This option will only show you items in your Item List that have been added since that specific date. Tap the Select a Date button and a calendar will pop up, where you can select a date in the past from. This make bulk labeling new items easier than ever.
Searching
This feature allows you to search for the item you want typing in the item name or SKU in the Search Bar. While the default parameters are to search the entire Item List, you can follow the instructions above to filter the search by Category.
Scanning Barcode
This feature searches for the item by scanning a barcode from the item label or the shelf label. This makes going through your shelves and adding stock a quick and efficient process.
- To start scanning, tap the Camera button above the Search Bar.
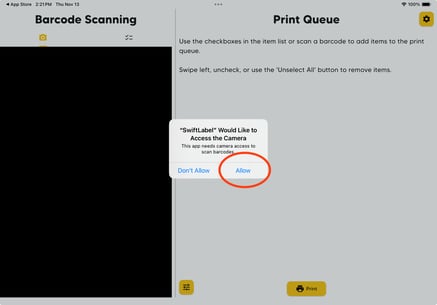
- This will active your camera. and allow you to start scanning.
- If this is the first time using this feature, you will be prompted to give SwiftLabel access to your camera. Select Allow if you want to use this feature. If you select Don't Allow, you will need to go into your device's settings to change the permissions.
- If this is the first time using this feature, you will be prompted to give SwiftLabel access to your camera. Select Allow if you want to use this feature. If you select Don't Allow, you will need to go into your device's settings to change the permissions.
- When your camera is active, it will automatically pull up any item with a SKU it recognizes. You will then be prompted to cancel and resume scanning or to add the item to your Print Queue.
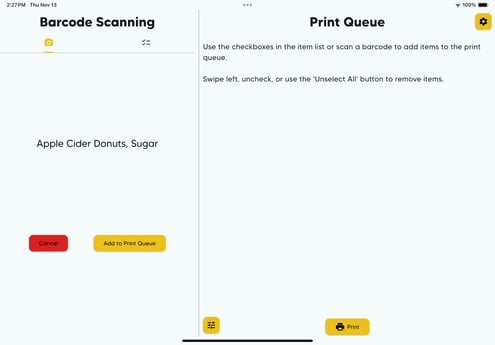
- Once added to the Print Queue or cancelled, your camera will be active again and allow you to keep scanning until you press the Item List button next to the Camera button.