Finding & Opening the App
SwiftLabel is listed in the App Store under the developer name MarketSquare Tech, published by Plum Creek Farm LLC, in the Business category.
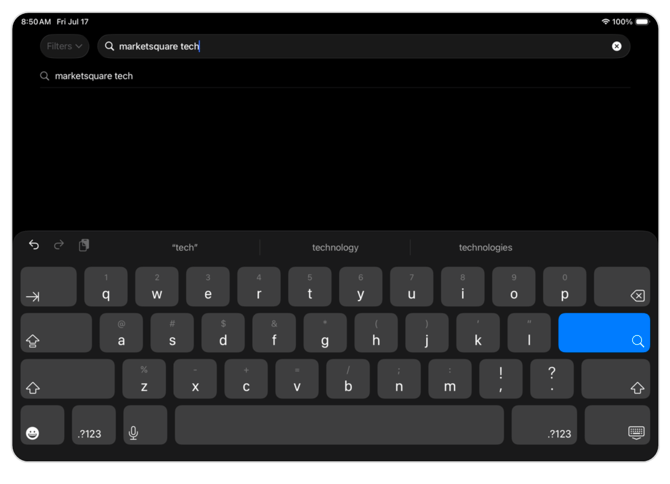
1. Open the App Store and search for MarketSquare Tech.
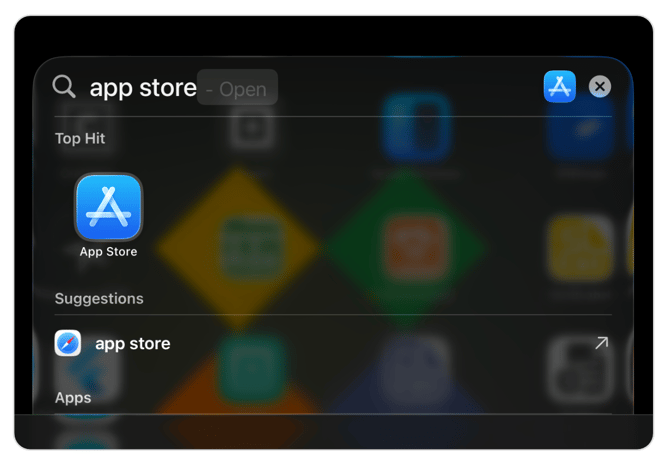
2. Select the app from the search results.
3. Tap Get to install it, or tap Open if it is already installed.
Signing In & Choosing a Module
DeliLabel is one of several MarketSquare mobile apps that share a single login. The first time you open the app, or after signing out, you will arrive at the MarketSquare Mobile Apps login screen.
1. Enter your Email and Password, then tap Login.
TIP: Use Forgot Password? if you need to reset your credentials.
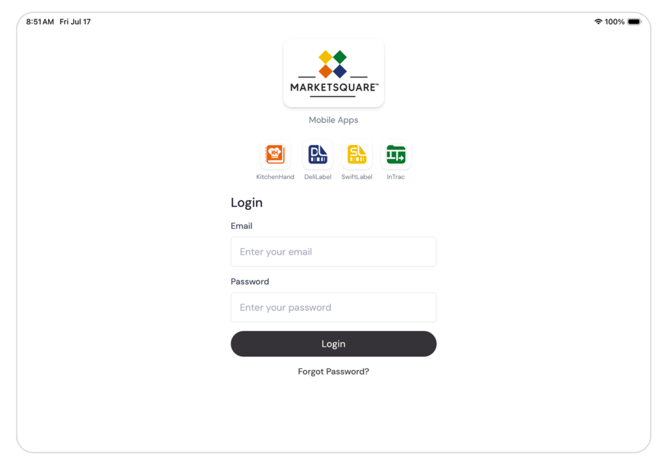
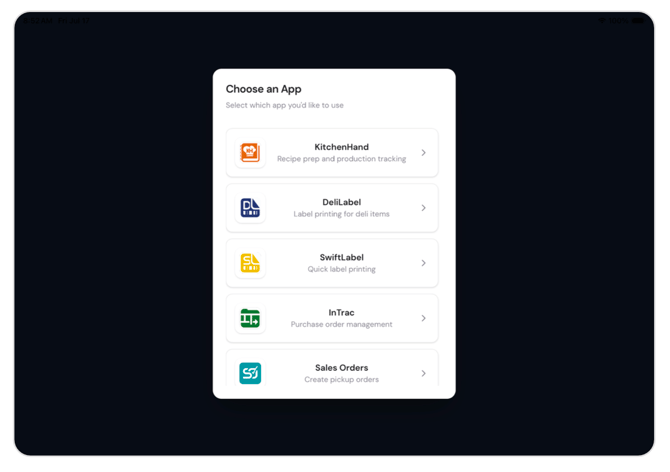
2. Once you gain access, MarketSquare displays the apps available to your account as icons.
Tapping one of these icons opens that app directly.
App Settings
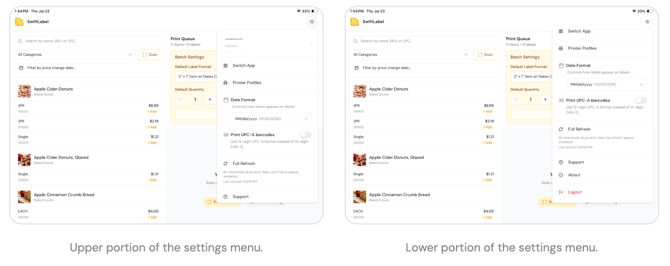
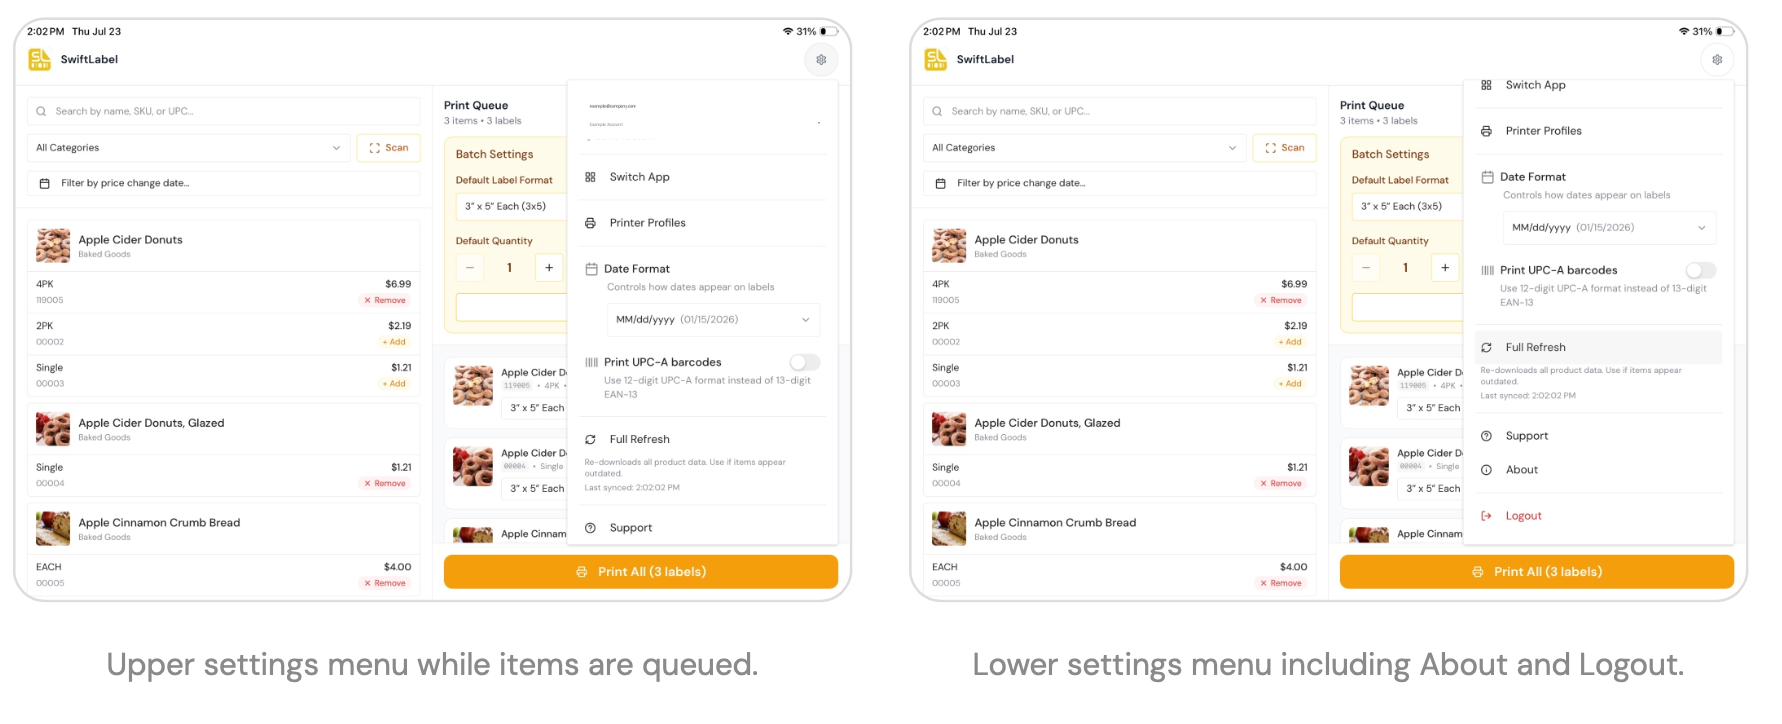
Tap the gear icon in the upper-right corner to open the Settings menu.
Available Settings
Switch App: Switch to another available application.
Printer Profiles: Add, configure, and manage printers used by SwiftLabel.
Date Format: Choose how dates appear on printed labels.
Print UPC-A barcodes: Use 12-digit UPC-A instead of 13-digit EAN-13 when enabled.
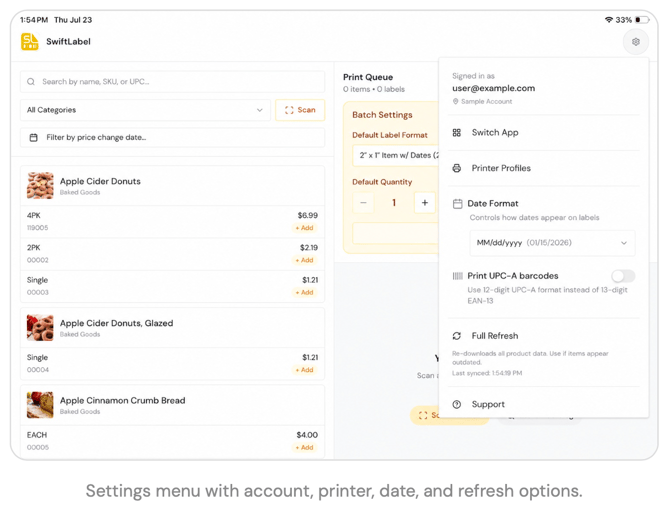
Full Refresh: Re-download product data when catalog information appears outdated.
Support and About: Access help and application information.
Logout: Sign out of the current account.
Full Refresh
Use Full Refresh when products, prices, categories, or other catalog information appear out of date. The menu shows the last sync time for reference.
NOTE: A Full Refresh re-downloads product data. It does not remove items from your source catalog; it updates the local app data.
Setting Up a Printer Profile
A printer profile tells SwiftLabel which Zebra printer to use and what label stock is loaded.
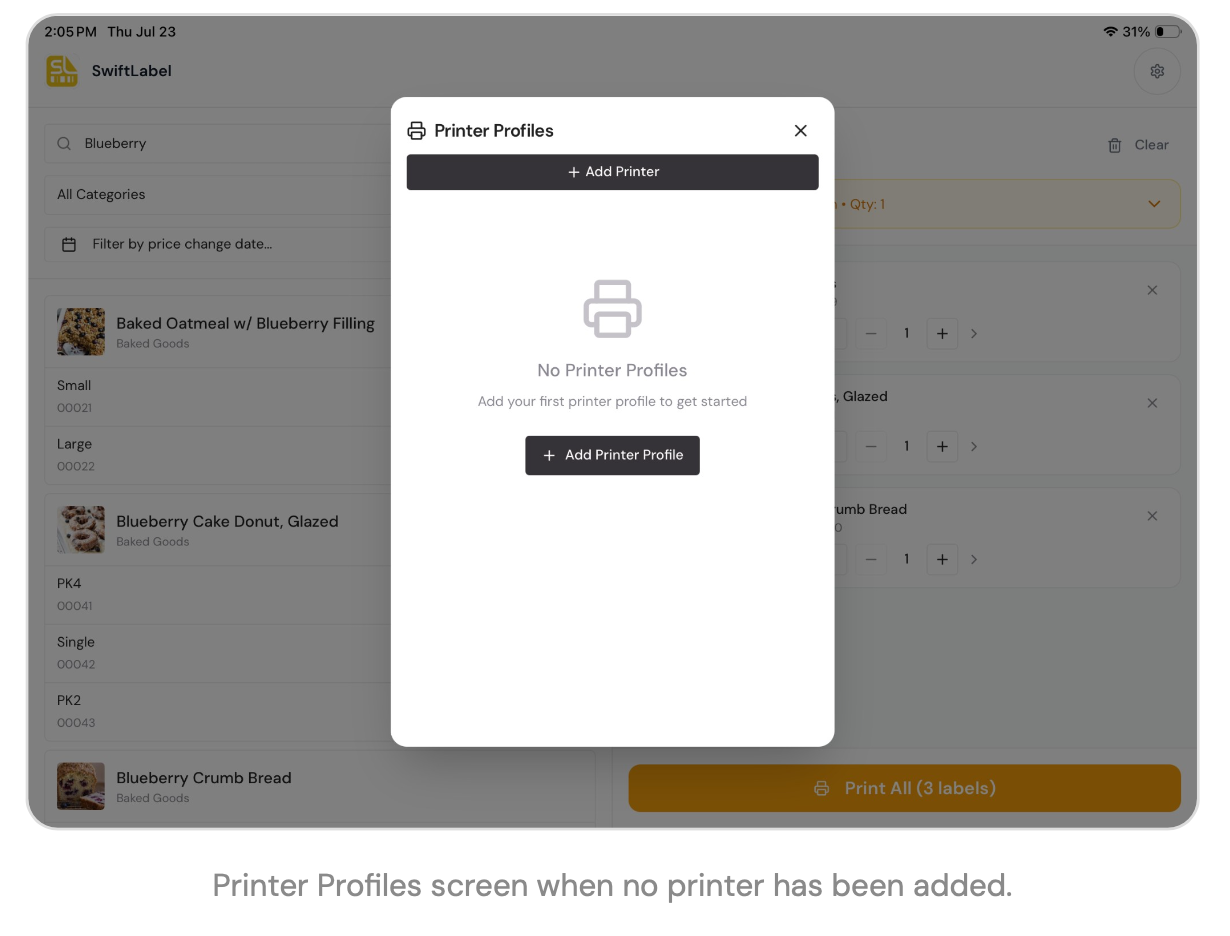
Open Printer Profiles
1. Tap the gear icon.
2. Tap Printer Profiles.
3. If no profiles exist, tap + Add Printer or + Add Printer Profile.
Select the Printer Model
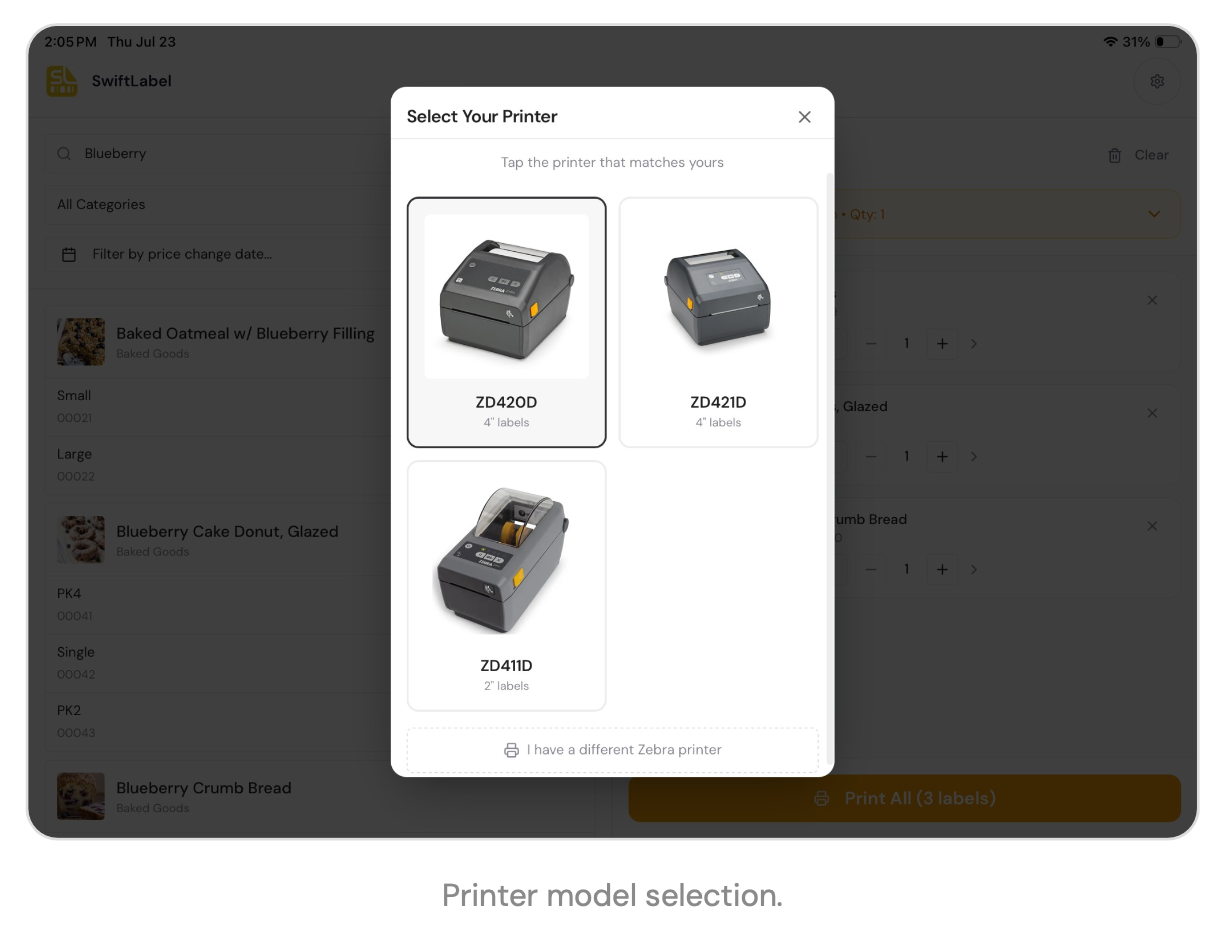
Choose the model that matches your printer. The setup screen shows common models and their supported label widths. For another Zebra model, select the "different Zebra printer" option.
Connect the Printer
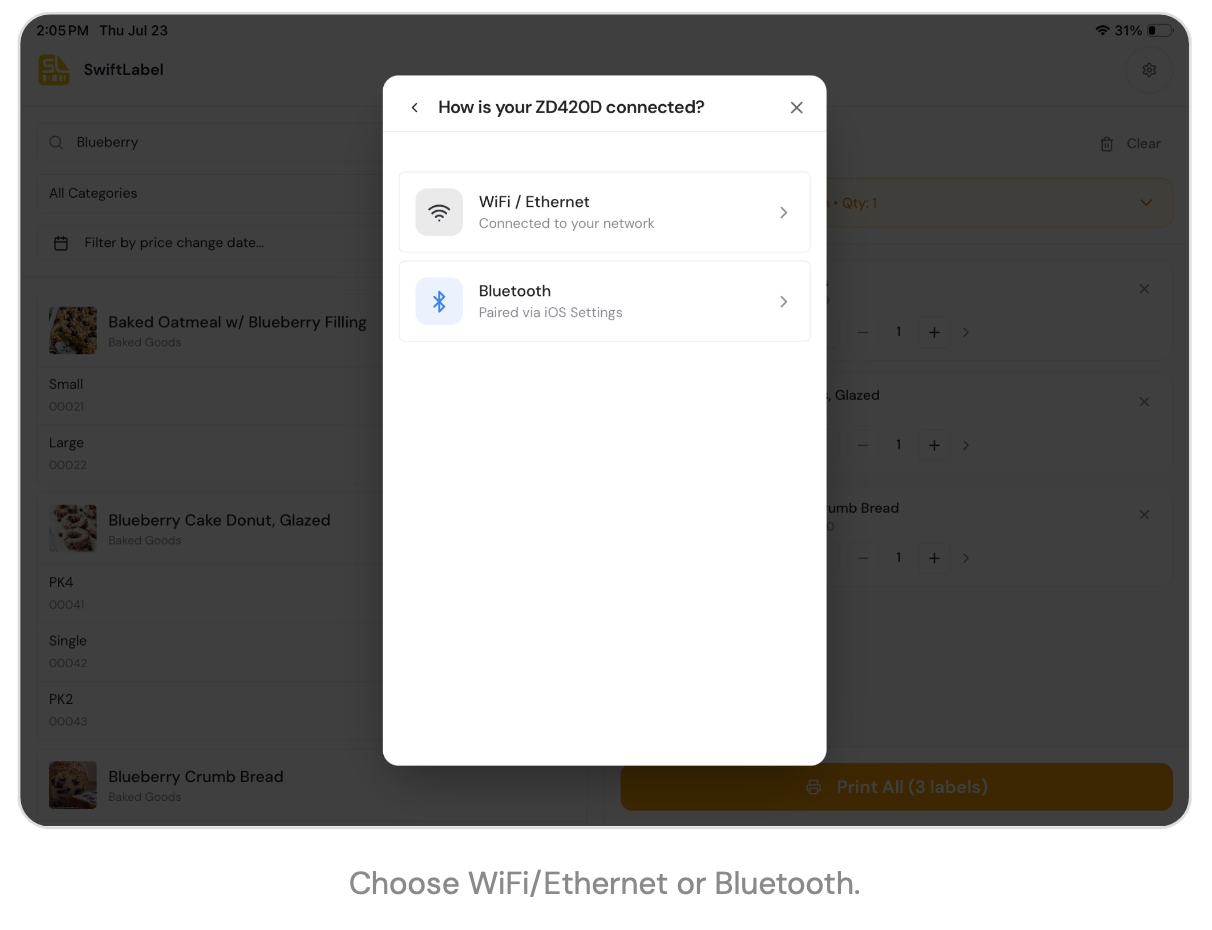
After selecting a model, choose how the printer is connected.
Bluetooth
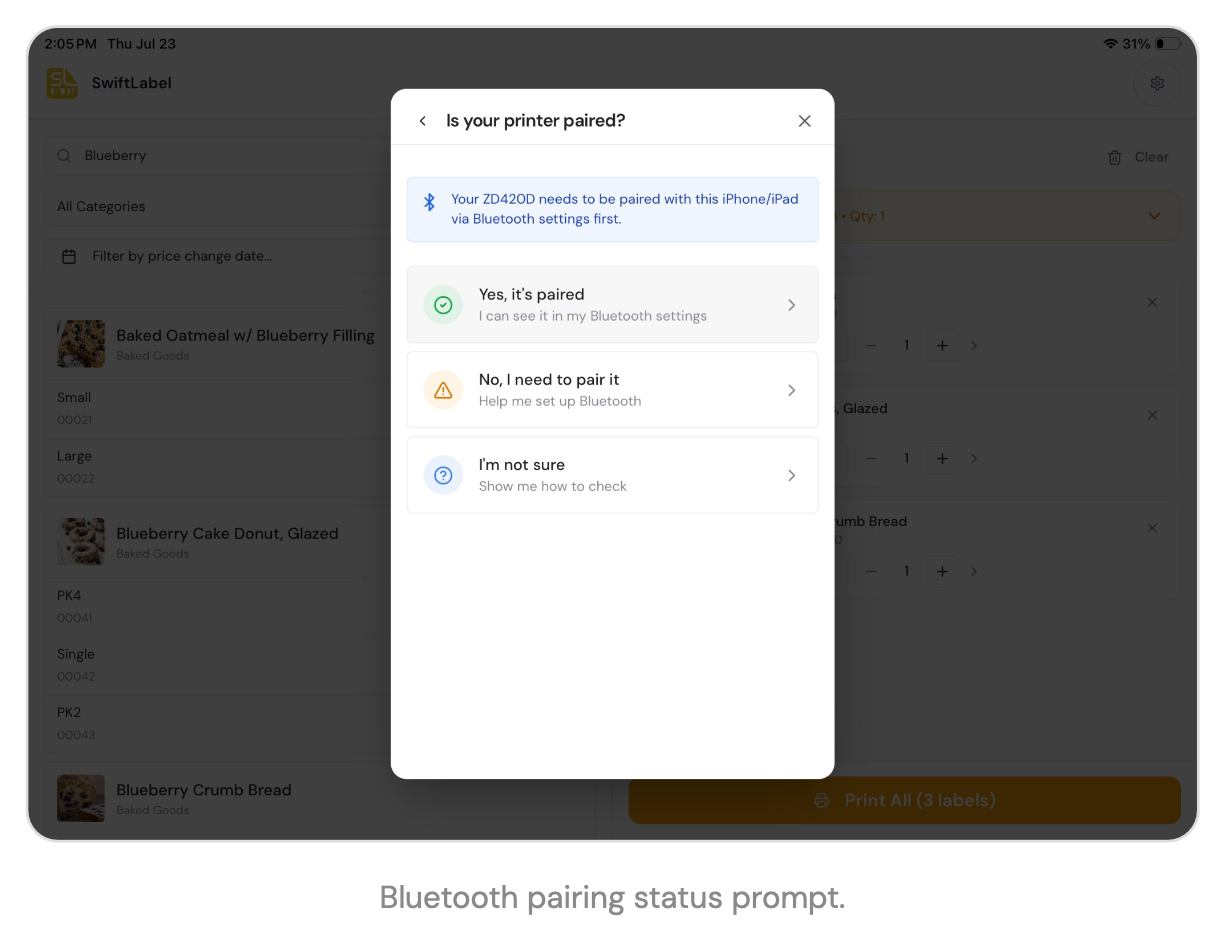
For Bluetooth, the printer must first be paired with the iPhone or iPad in iOS Settings. Choose the response that matches the current pairing status and follow the setup guidance shown in the app.
WiFi / Ethernet
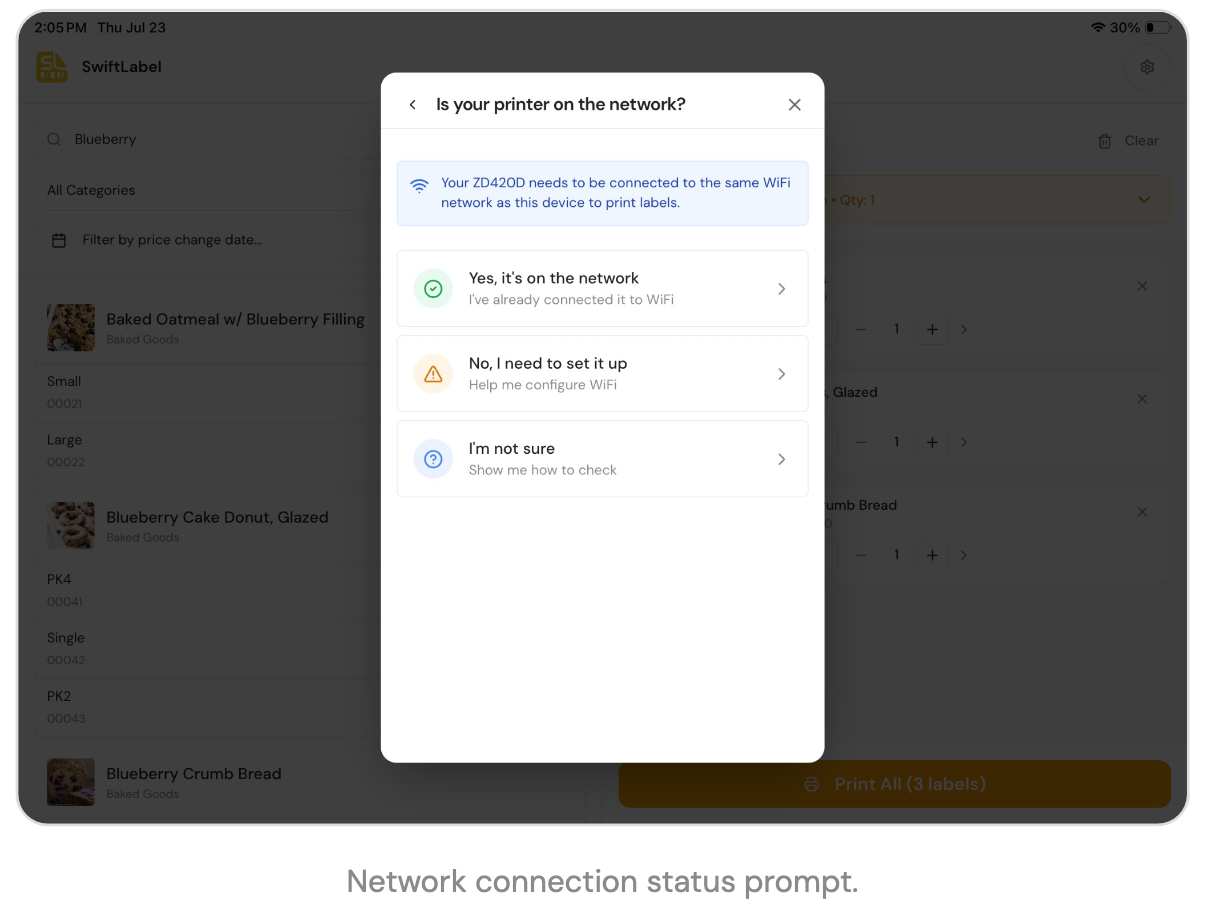
For a network printer, make sure the printer is connected to the same local network as the device running SwiftLabel. Select the response that matches the printer's current network status.
Find the Printer on the Network
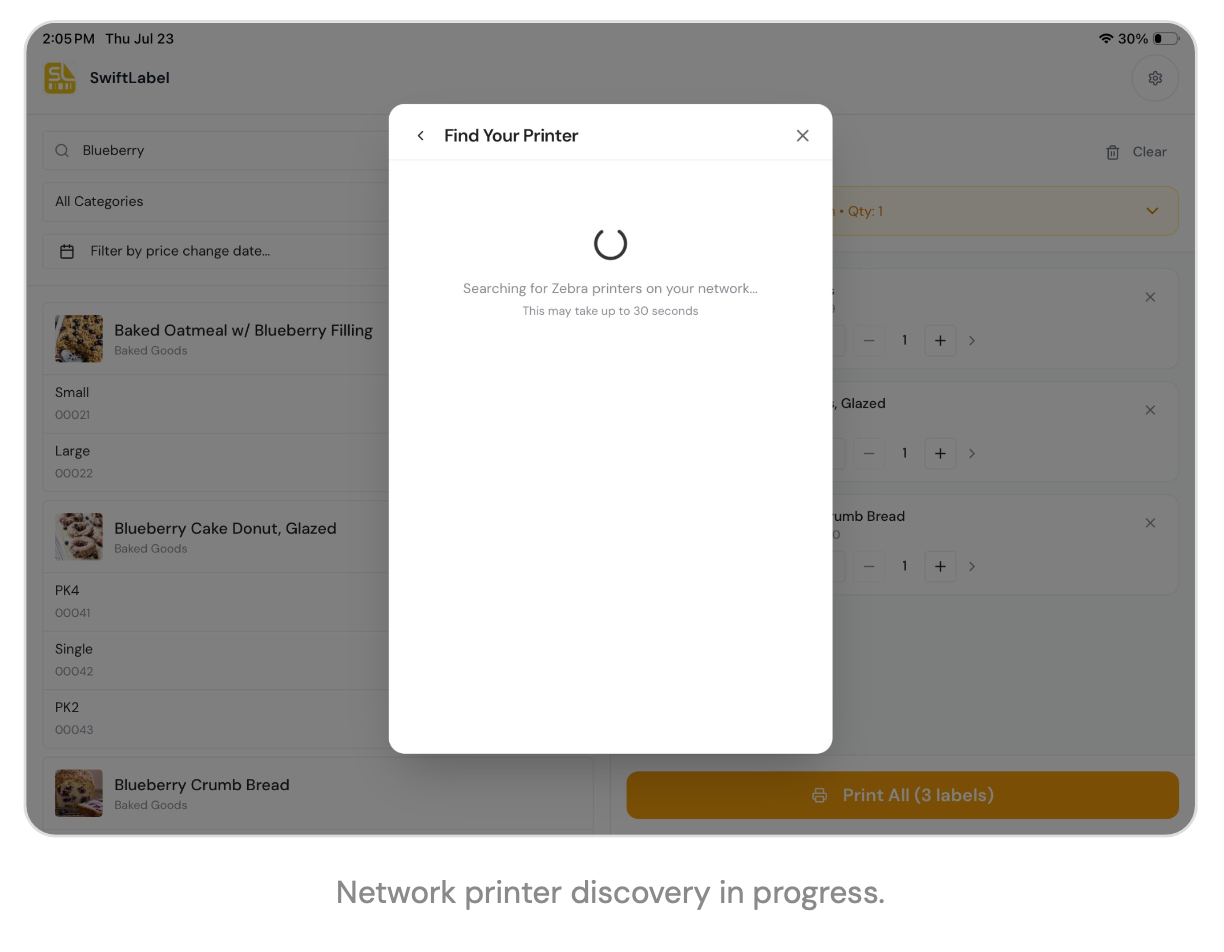
SwiftLabel searches the local network for compatible Zebra printers. The scan can take several seconds.
Select a Discovered Printer
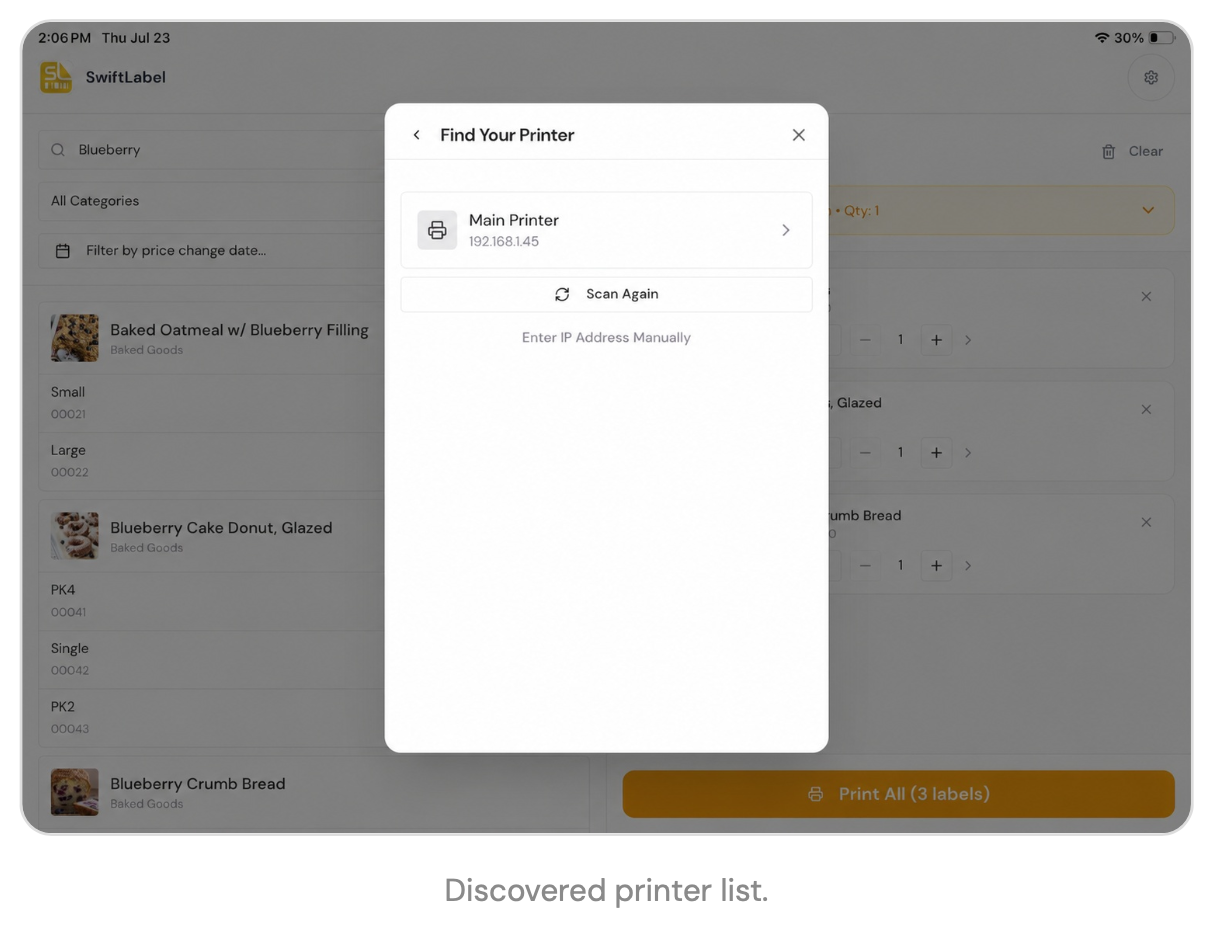
When the scan completes, tap the correct printer in the results. If the printer is not shown, tap Scan Again or enter its IP address manually.
Connect
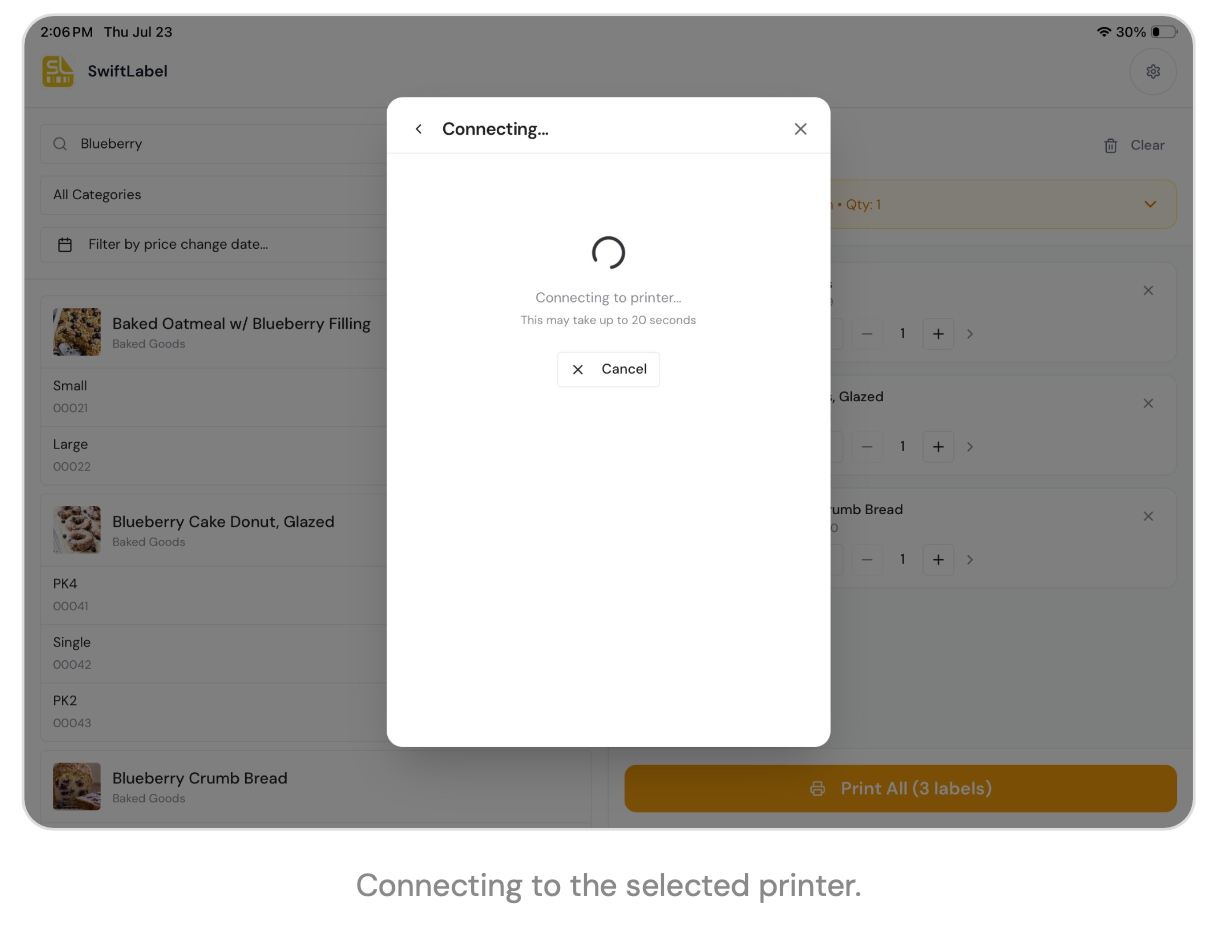
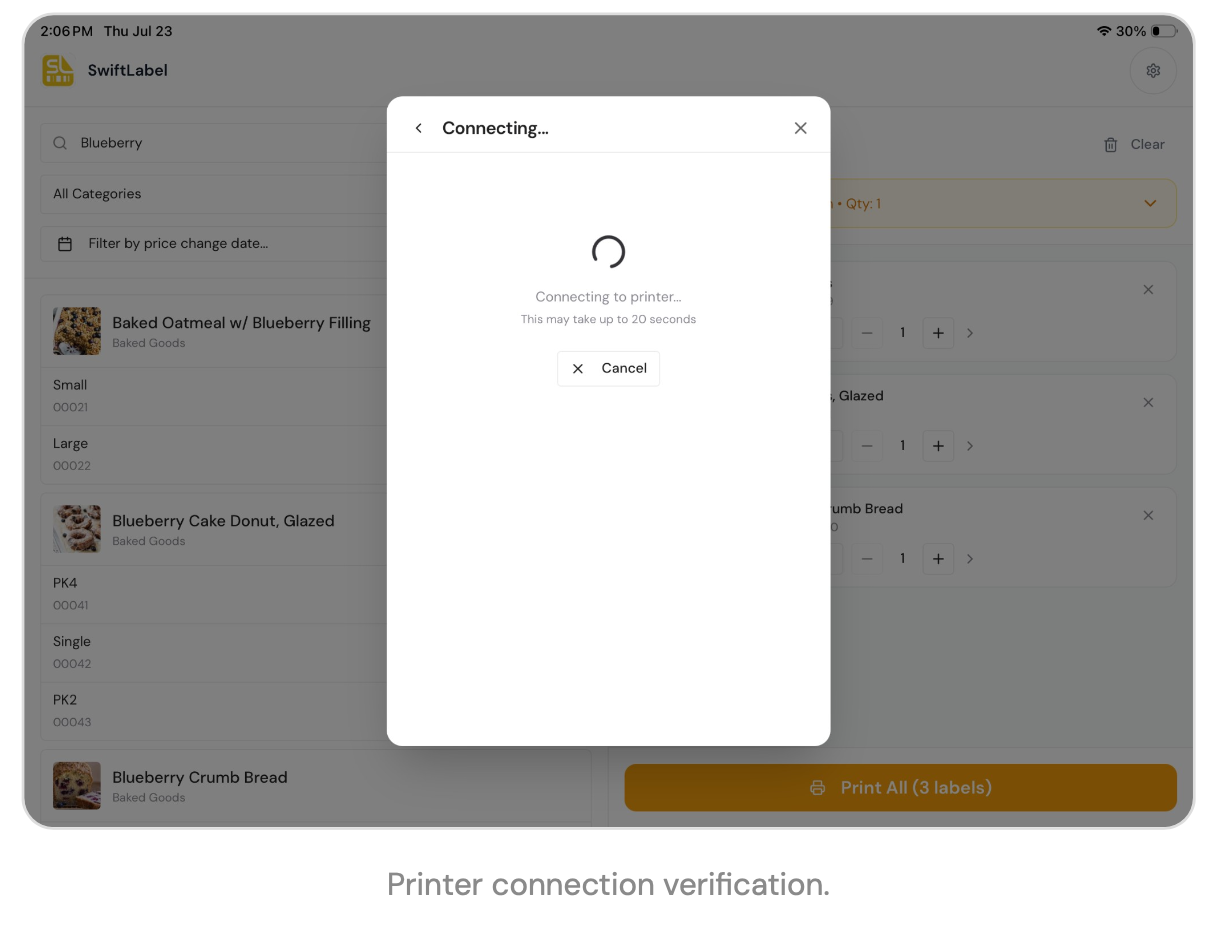
SwiftLabel verifies the connection before continuing. You may cancel if you selected the wrong printer or need to change network settings.
Configure & Save the Printer Profile
After a successful connection, review the detected printer information and configure the profile used for day-to-day printing.
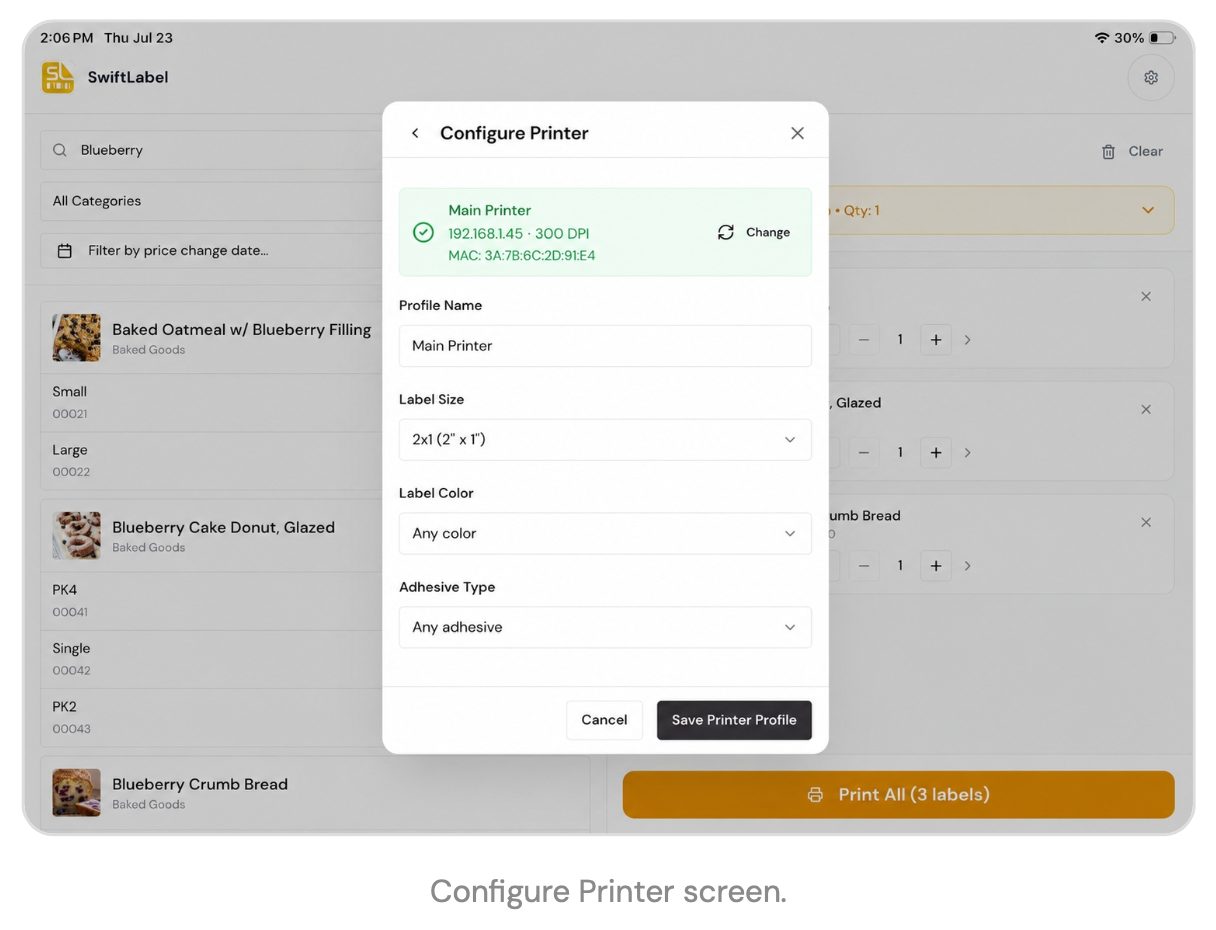
1. Enter a clear Profile Name, such as Front Counter, Bakery, or Bulk Oval.
2. Choose the Label Size that matches the stock physically loaded in the printer.
3. Choose Label Color if your workflow uses color-specific stock; otherwise leave Any color.
4. Choose Adhesive Type if needed; otherwise leave Any adhesive.
5. Tap Save Printer Profile.
IMPORTANT: The selected label size should match both the physical media loaded in the printer and the label format you choose in the Print Queue. A mismatch can cause clipping, rotation, blank labels, or incorrect feed length.
Connection Verification
During setup, the app briefly displays a Connecting screen while it confirms communication with the printer.
Changing the Printer Later
Return to Printer Profiles from the gear menu whenever you need to add another printer, change the active configuration, or update label stock settings.
Manage Saved Printer Profiles
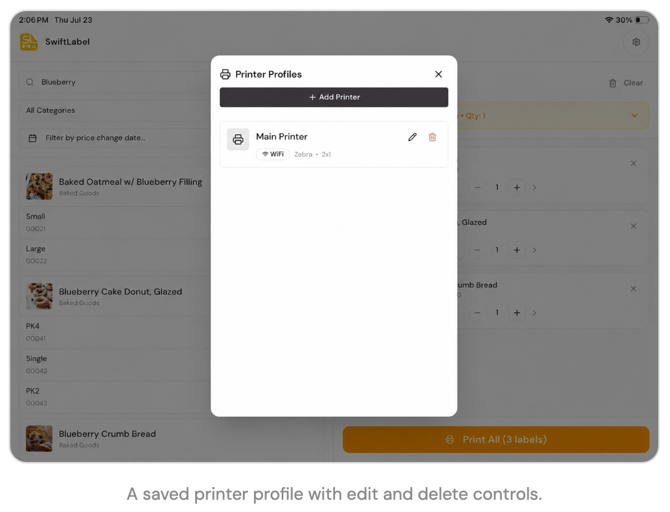
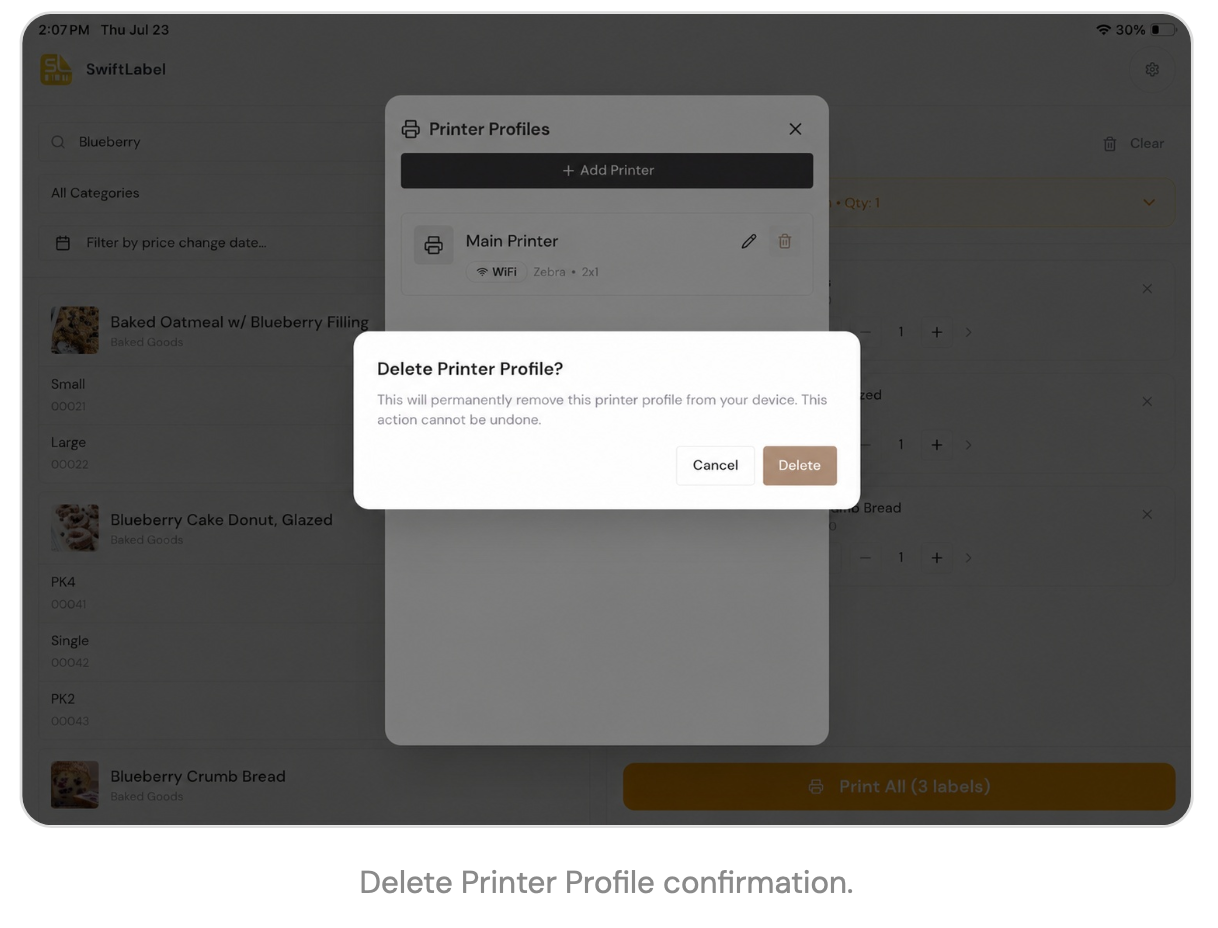
Saved profiles appear in the Printer Profiles window. Each profile shows its connection type, printer family, and label size. Tap the pencil icon to edit a profile. Tap the trash icon to remove a profile that is no longer used. When deleting a printer profile, SwiftLabel asks you to confirm the action; this removes the saved configuration from the device but does not delete or reset the physical printer.