
Quick Start
1. Find an item by searching the catalog, filtering by category or price-change date, or scanning a barcode.
2. Tap + Add beside the desired item or variation. The item appears in the Print Queue.
3. Choose a label format and quantity for each item, or use Batch Settings to apply the same choices to all queued items.
4. Set up at least one printer profile from the gear menu if no printer is configured yet.
5. Tap Print All at the bottom of the Print Queue and follow the prompts to send the labels to your printer.
BEFORE PRINTING: Make sure your iPad/iPhone and network printer are on the same network, or that a Bluetooth printer is paired in iOS Settings.
Main Screen at a Glance
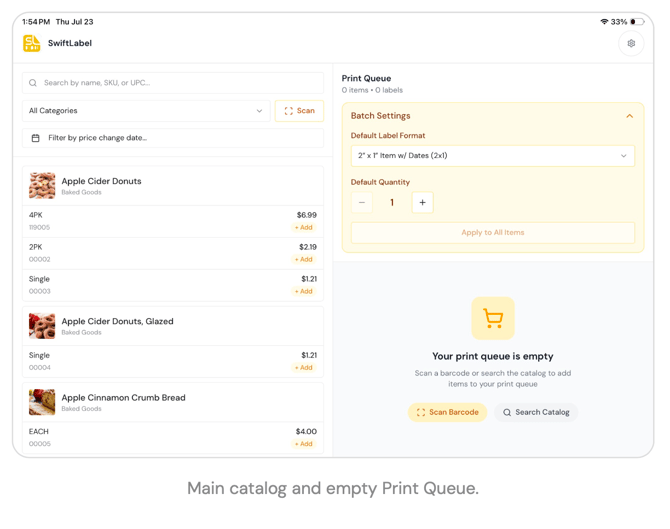
- Catalog controls are on the left: search, category filter, price-change date filter, and Scan.
- The Print Queue is on the right: batch settings, queued items, quantities, label formats, and Print All.
- The gear icon in the upper-right opens app settings and printer profiles.
Finding Products
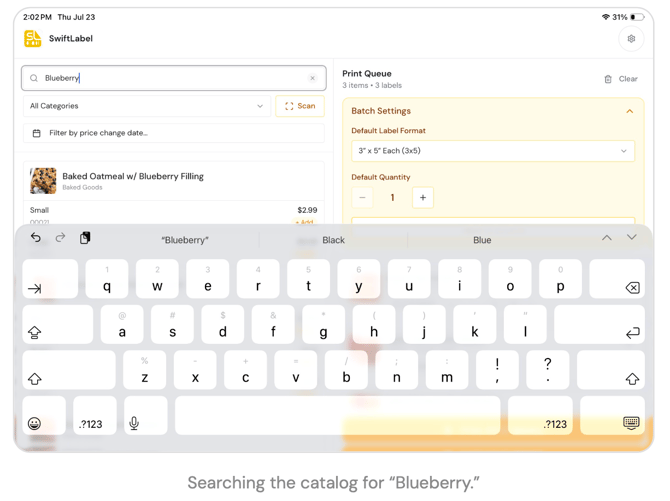
Search by Name, SKU, or UPC
Tap the search field and type all or part of a product name, SKU, or UPC. Results update to show matching products. Use the X in the search field to clear your search.
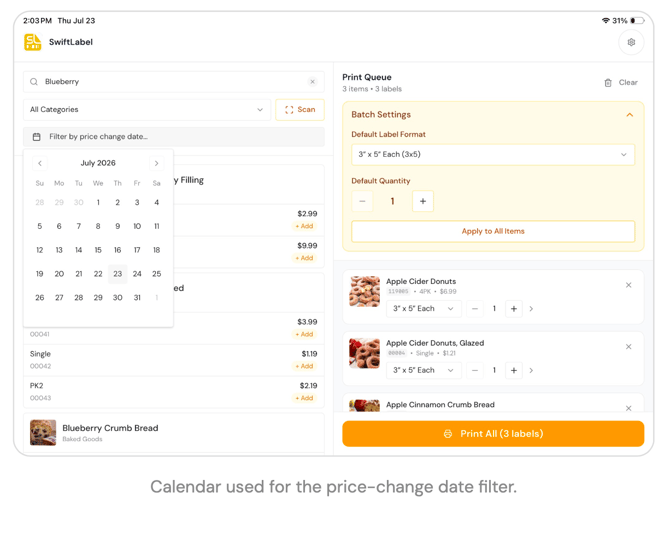
Filter by Price Change Date
Tap Filter by price change date to open the calendar, then choose a date. This is useful when you need to locate items whose prices were changed on or around a particular date.
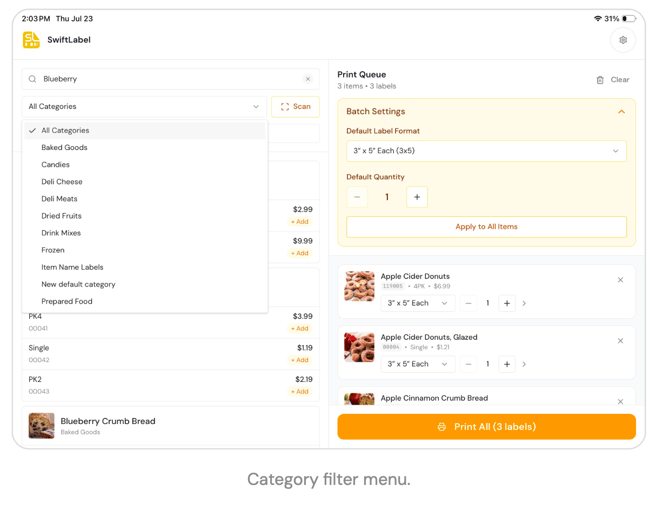
Filter by Category
Tap All Categories to choose a single product category. The catalog list will be narrowed to products in that category. Choose All Categories again to remove the category filter.
Scan a Barcode
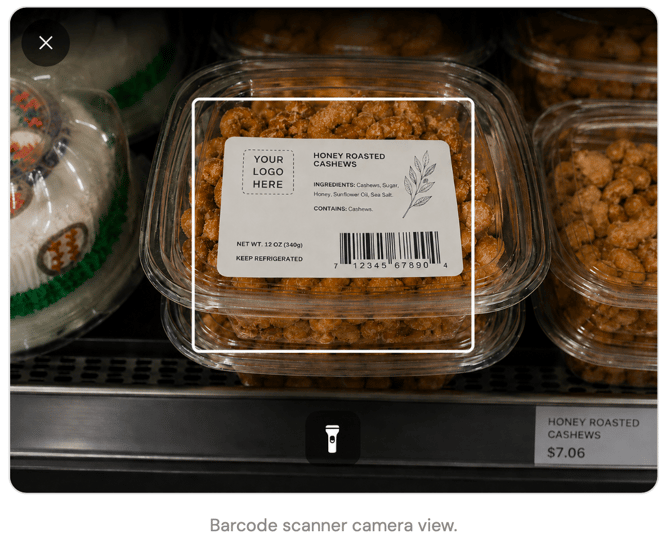
Tap Scan to use the device camera to locate a product by barcode. When a matching item is found, add it to the Print Queue the same way you would from search results. Center the product barcode inside the on-screen scanning frame. Use the flashlight button at the bottom when additional light is needed, or tap X to return to the catalog without scanning.
TIP: Search and category/date filters can be used together to narrow a large catalog quickly.
Building the Print Queue
Each product card may contain one or more variations. Tap + Add beside the variation you want to print. Once added, the button changes to Remove and the item appears in the Print Queue.
Managing Individual Queue Items
- Use the label-format dropdown on an item to override its label format.
- Use – and + to decrease or increase that item's label quantity.
- Tap the X at the far right of a queue card to remove that item.
- Tap Clear near the Print Queue heading to remove all queued items.
Batch Settings
Batch Settings lets you choose a default label format and quantity for multiple queued items at once.
Choose a Default Label Format
Open the Default Label Format dropdown and choose the format that matches the labels loaded in the printer and the type of item you are printing.
Apply Settings to All Items
1. Select the desired Default Label Format.
2. Set Default Quantity with the – and + buttons.
3. Tap Apply to All Items.
4. Confirm each queue card now shows the intended label format and quantity.
Batch Settings Applied
After applying batch settings, each queue item displays the selected format. You may still adjust an individual item afterward without changing the others.
Collapse Batch Settings
Tap the chevron in the Batch Settings header to collapse the panel. The collapsed header summarizes the current batch format and quantity, leaving more room to review the queue.
Printing Labels
1. Find and add each product to the Print Queue.
2. Confirm each item's label format and quantity. Use Batch Settings when several items share the same format.
3. Verify that the loaded printer media matches the selected label size.
4. Tap Print All at the bottom of the Print Queue.
5. Follow any printer-selection or confirmation prompts that appear.
6. Check the first printed label before printing a large batch.
BEST PRACTICE: For a new label format or newly configured printer, print one label first. Confirm size, orientation, barcode readability, dates, and text placement before running a large batch.
Troubleshooting
Recommended Daily Workflow
- Confirm the correct printer profile and label stock before the first print job of the day.
- Search or scan products, build the queue, and review quantities before printing.
- Use batch settings for repetitive jobs, but verify exceptions individually.
- Use Full Refresh when product information appears stale.
Appendix: Interface Reference
The following screens provide additional visual references for common SwiftLabel states.
SUPPORT: For issues that persist after checking the steps above, use Support from the gear menu and provide the printer model, connection type, label size, and a description or photo of the printing issue.